The Exact Steps I Follow for a Relaxing DIY Facial
When it comes to pampering your skin, following a structured approach can enhance your DIY facial experience. Start by gathering natural ingredients that suit your skin type, like honey and yogurt. Preparation is key, so cleanse your face thoroughly. As you move through the exfoliation and mask application processes, remember to focus on relaxation techniques. Want to know how to maximize the benefits and ensure your skin feels revitalized? Let’s explore the next steps.
Key Takeaways
- Select natural ingredients suited to your skin type, like honey for hydration or yogurt for exfoliation.
- Prepare your skin by cleansing, steaming, and applying toner to ensure optimal absorption.
- Exfoliate gently using your chosen method to remove dead skin cells and unclog pores.
- Apply the facial mask evenly, focusing on problem areas, and leave it on for 10-20 minutes.
- Relax during the mask application, then cleanse your face, moisturize, and hydrate afterward.
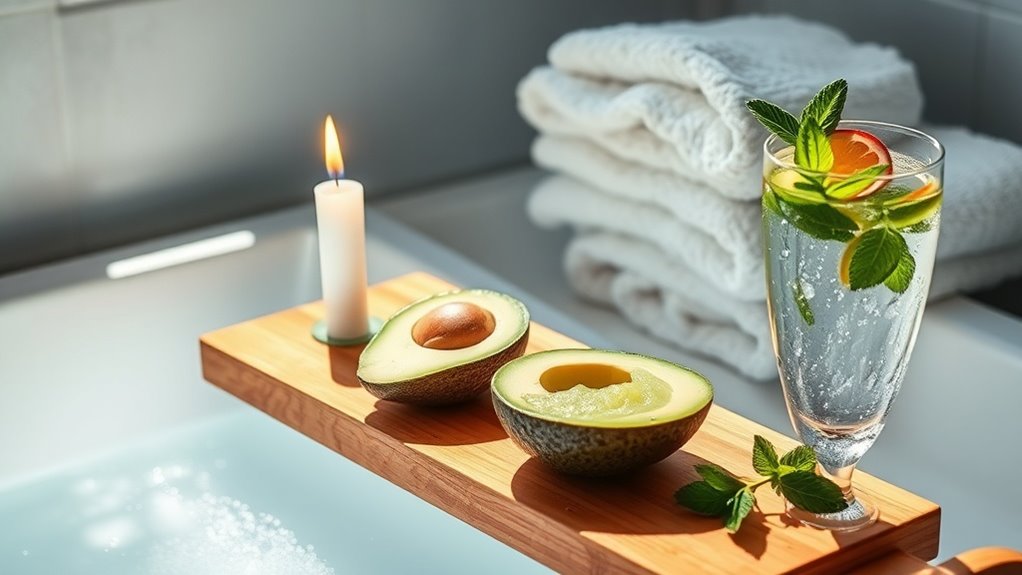
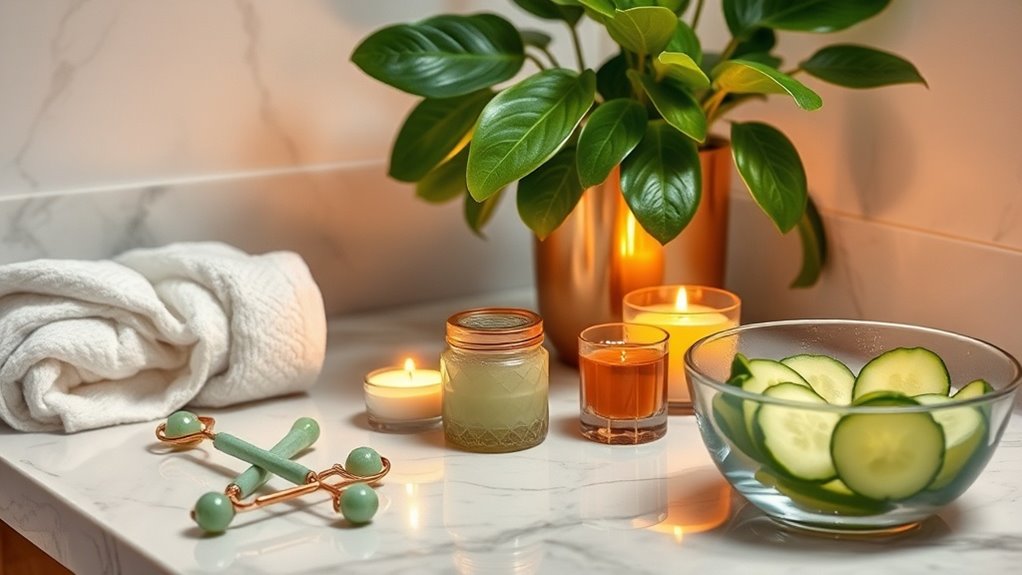
Gather Your Ingredients
First, gather natural ingredients that suit your skin type.
Common options include honey for hydration, yogurt for exfoliation, and avocado for nourishment.
You might also consider oatmeal for soothing sensitive skin or lemon juice for brightening effects.
Don’t forget essential oils like lavender or tea tree for added benefits.
Make sure you have a mixing bowl and applicator, such as a brush or your fingers.
Incorporating these essential weekly self-care practices will enhance the benefits of your revitalizing DIY facial, leaving your skin feeling fresh and rejuvenated.
Prepare Your Skin
Before applying your DIY facial, it’s essential to prepare your skin to maximize the benefits of the ingredients you’ve chosen.
Start by removing any makeup with a gentle cleanser, ensuring your face is free of impurities.
Next, splash your face with lukewarm water to open up your pores, promoting better absorption of the facial ingredients.
Pat your skin dry with a clean towel, avoiding any harsh rubbing.
If you have time, consider steaming your face briefly; this can enhance circulation and hydration.
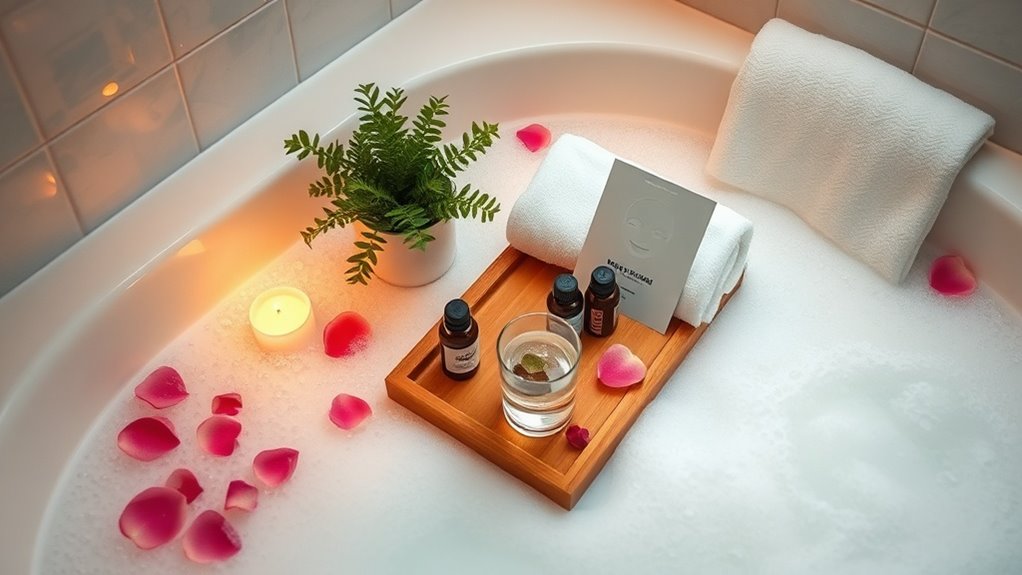
Finally, apply a toner to balance your skin’s pH and create an optimal canvas for your DIY facial. Additionally, creating a calming spa ambiance can significantly enhance your overall relaxation experience.
Exfoliation Process
Exfoliation is a crucial step in your DIY facial routine, as it helps remove dead skin cells and unclog pores, revealing a brighter complexion. Choose between physical and chemical exfoliants based on your skin type. Gently massage the exfoliant onto your damp face in circular motions for about 1-2 minutes, then rinse with lukewarm water. Creating a calming atmosphere with ambient lighting can enhance your overall relaxation during this process.
| Type of Exfoliant | Benefits |
|---|---|
| Physical | Immediate texture improvement |
| Chemical | Deep penetration and renewal |
| Enzymatic | Gentle and suitable for sensitive skin |
| Mechanical | Great for eliminating rough patches |
Make sure to exfoliate once or twice a week for optimal results!
Facial Mask Application
Apply your chosen facial mask with care, as this step enhances hydration and targets specific skin concerns.
Using a clean brush or your fingers, evenly distribute the mask across your face, avoiding the eye area.
Ensure you cover all zones, including your forehead, cheeks, nose, and chin.
For a more intense treatment, apply a thicker layer on areas needing extra attention.
Leave the mask on for the recommended time, usually 10-20 minutes, allowing your skin to absorb the nutrients. Additionally, consider incorporating simple at-home spa ideas to further elevate your relaxation experience.
Rinse thoroughly with lukewarm water, gently pat your face dry, and follow up with a moisturizer to lock in hydration.
Relaxation Techniques
Once your facial mask has been applied and you’ve taken a moment to let it work its magic, it’s time to focus on relaxation techniques that can further enhance your skincare experience.
Start by finding a comfortable position, either lying down or sitting in a cozy chair. Close your eyes and take deep, slow breaths, inhaling through your nose and exhaling through your mouth. Breathe deeply to anchor your mind in the present moment, allowing the stresses of the day to fade away.
Consider incorporating gentle neck and shoulder stretches to release tension. You might also play soft music or nature sounds to create a calming atmosphere.
Engaging in mindfulness can help you fully enjoy this moment of self-care and tranquility.
Post-Facial Care
After you’ve enjoyed the rejuvenating effects of your DIY facial, proper post-facial care is essential to maintain your skin’s glow and health.
Start by gently cleansing your face to remove any residual products.
Follow up with a nourishing moisturizer to hydrate and protect your skin.
Don’t forget to apply sunscreen if you’re heading outside; your skin needs protection from UV rays.
Also, avoid heavy makeup for a day to let your skin breathe.
Lastly, drink plenty of water to keep your skin hydrated from within.
- Gently cleanse your face
- Apply a nourishing moisturizer
- Use sunscreen
- Skip heavy makeup
- Hydrate with water